How to make your own Club Candle

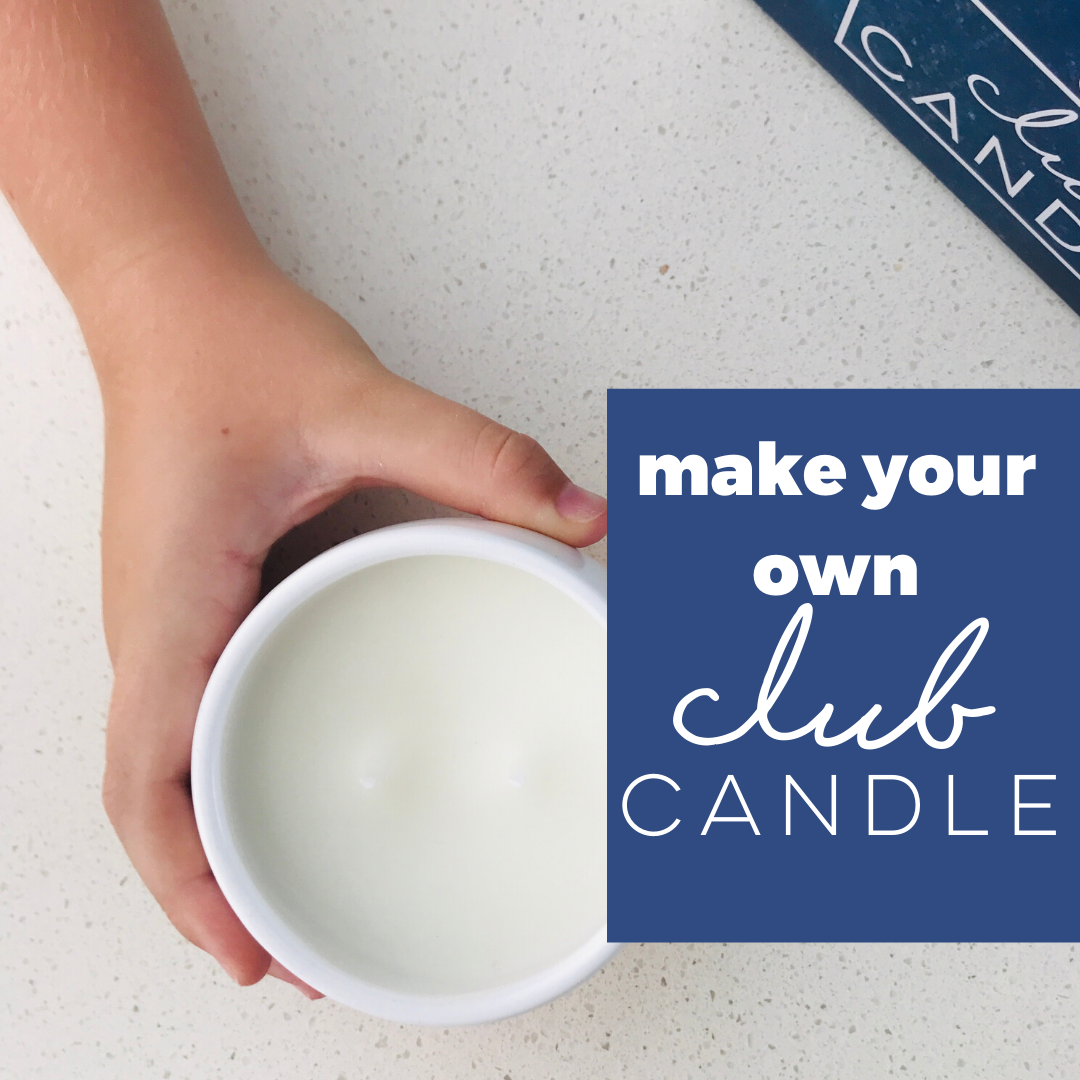
MAKE YOUR OWN Club CANDLE
With so many people stuck at home with or without kids, there may be some of you that want something to do with all this spare time that you now have on your hands. I’m in the early stages of testing but would love to see if there are people out there that would love to create along with me. Essentially, it’s a make your own candle kit that you can make in your own home. Whether it’s used as a break from boredom or you need to spruce up the kid’s home-schooling science period. It really is so empowering to make something with your own hands and now more than ever, this is a time when we want to retake a little control over our lives, even if it is just within your own four walls.
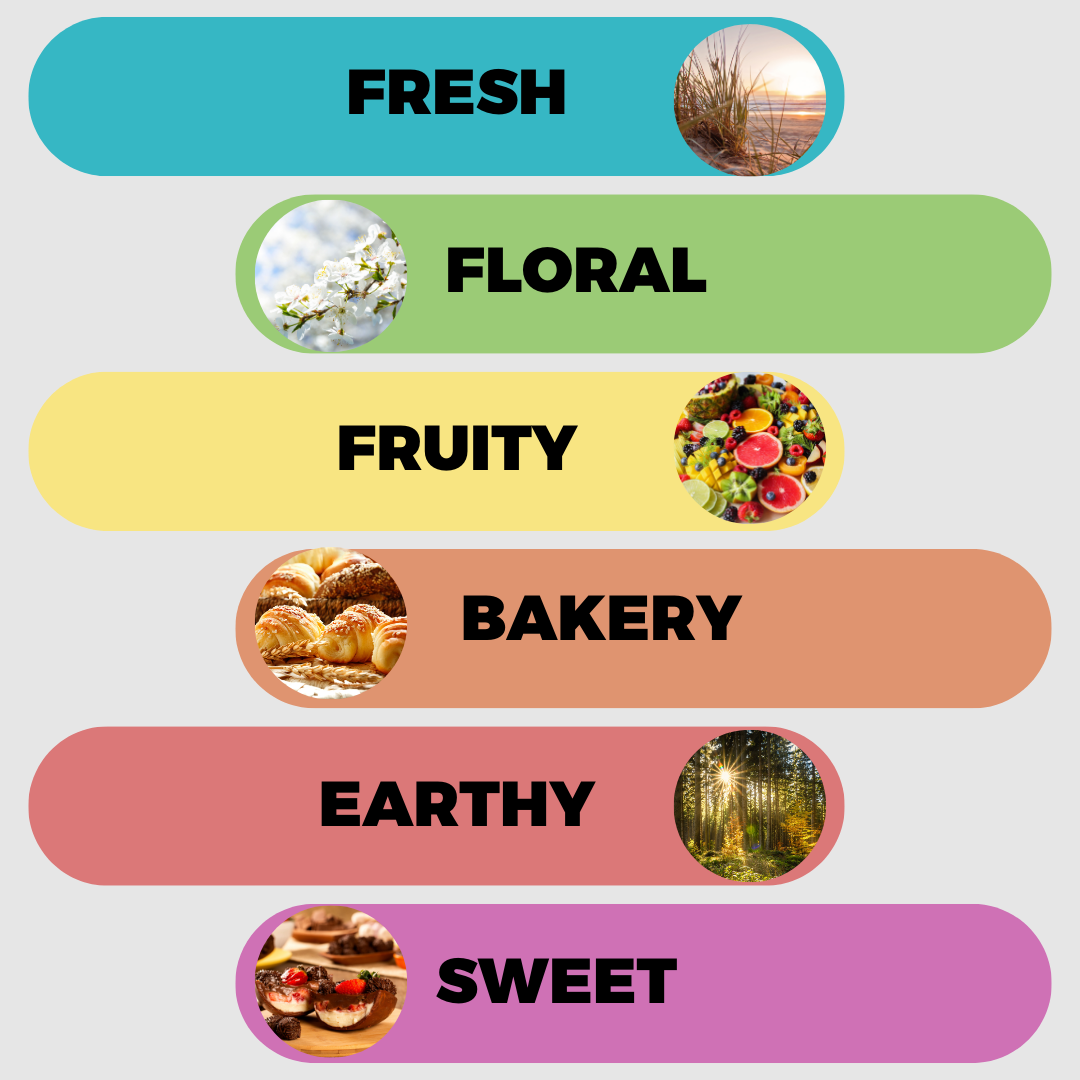
I have so many different candle containers and can give you the option of a range of scents. This method is in the early stages of development, so I’d love to lower the price for you to take a chance on me and test it out with me. Technically you’ll be my guinea pigs. Stay tuned for more details.
INCLUDED
Pouch of soy wax
Candle wick/s
Candle stickum
1 x bottle of fragrance oil
Wooden stirrer
Paddle pop stick wick holder
Tea light and wick for any left-over wax
Let’s make a candle.
Find a flat surface to work on where the candle can sit and start to set for at least 4 hours.
Remove the sticker from the bottom of your wick and stick the wick in the centre of your candle jar. If you have two wicks, they need to go into the centre with the two metal tabs almost touching each other. Use the paddle pop sticks to centre your wick/s at the top of the candle and hold the wick in place while it sets.
Open the pouch of candle wax and place in a shallow pot of boiling water – remember you’re testing along with us so keep your eye on the mix stirring carefully towards the end. It should take about 8-12 minutes till it’s almost melted. Don’t overheat as the pouch will get hot and the wax will be compromised. The wax shouldn’t get over 80 degrees. If you can still see a few small bits of unmelted wax it’s a good time to take the pouch from the water and place on a heat proof surface, stir for 1 minute.
Now that the temperate has dropped a little you can now add the fragrance and thoroughly stir for about 30 seconds, combining it well with the wax. Once stirred, carefully pour the hot wax slowly into the candle jar. Leave about 1cm from the top of the container. Re-centre the wick before the wax starts to harden. This helps with an even burn when you light your candle. If there is spare wax, we have included a tea light so you can use the excess wax or wait for the wax to harden and you can use as a soy melt.
We recommend you let the candle harden for at least 24 hours before lighting. Once your candle is set you can trim your wick to about half an inch long. If the candle flickers when lit or has a high flame, blow out the candle, trim the wick and relight.
NOW, tell us what you think. Is there something we need to add or is there more info that you need? Remember you are helping us with the testing process. I’ve been making candles for years now and sometimes things don’t go quite right. But that is the joy of experimenting and the amazing satisfaction you have when you have created something with your own hands.


Leave a comment